COMTREND RACING TEAM

   
Home Page Image

FITTING THE FAIRING

The most difficult thing to paint a fairing is to have a knowledgeable group of friends willing to help you :-),in my case I was helped by Orlando in the mechanical bit, and my family to help creating the logos and putting them into special stickers. This was done by my brother Pablo and my uncle Raúl.
First of all, we need to prepare the fairings to be painted.
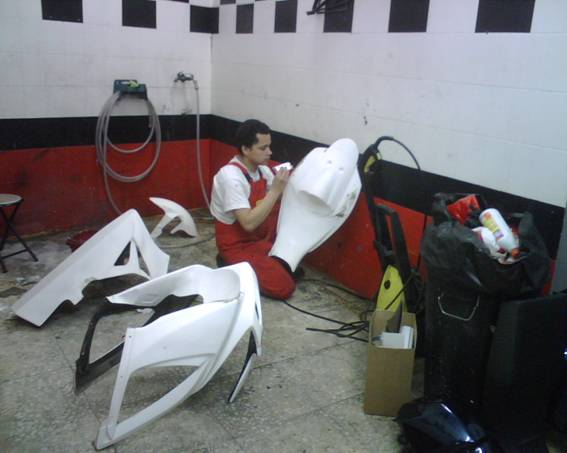
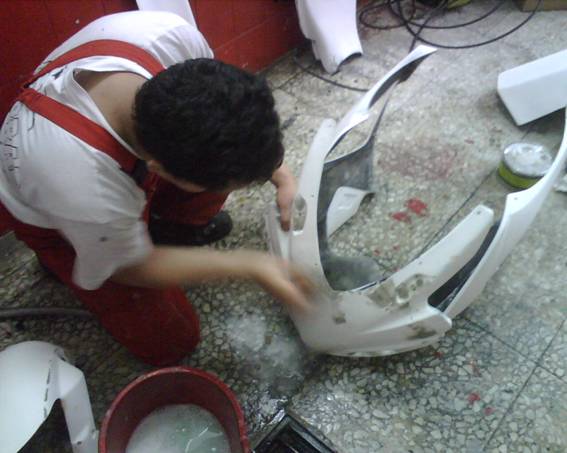
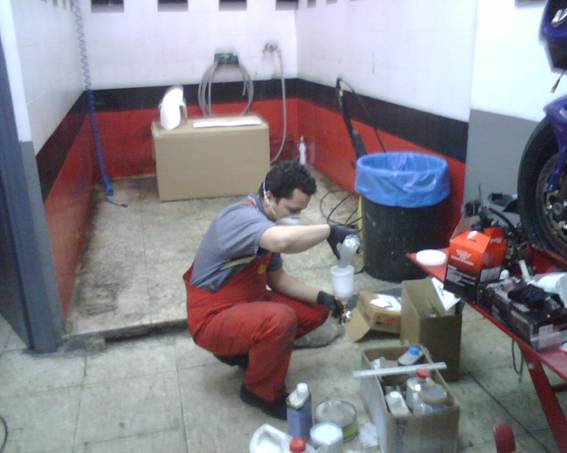
We start plastering the holes and imperfections, and once it´s done, we need to sand thoroughly with a 300 sanding paper.
IMG00147.jpg
Orlando is in the middle of sanding. The grey patches are the plaster.
IMG00148.jpg

IMG00149.jpg

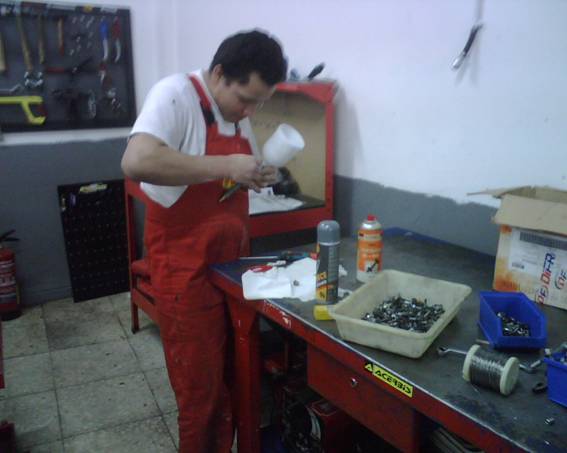
Once the fairing is all smooth we prepare the paint, which can´t be used out of the box. Depending on the area the materials and proportions are different. The first thing to do is prime the fairing so the paint will stick into it. That priming is done mixing priming with thinner (10%)

IMG00150.jpg


Once the surface is primed and dry, we prepare the white paint, mixed in a 5:1 with thinner.

IMG00151.jpg
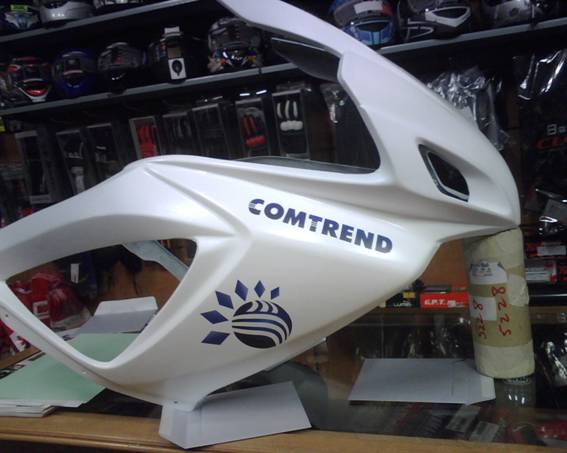
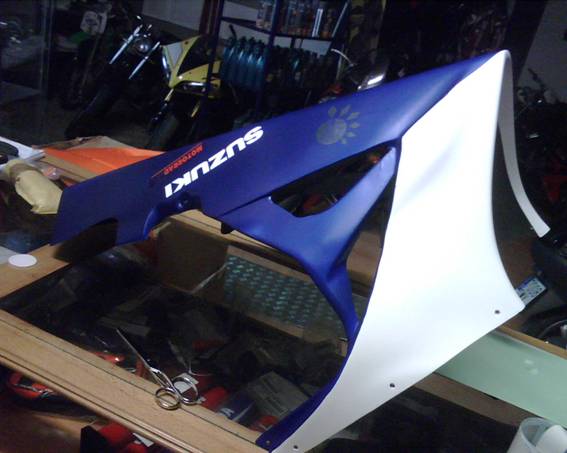
And once the white is dry, we apply the stickers of our sponsor, Comtrend Corporation

.IMG00152.jpg
It´s looking better now !!


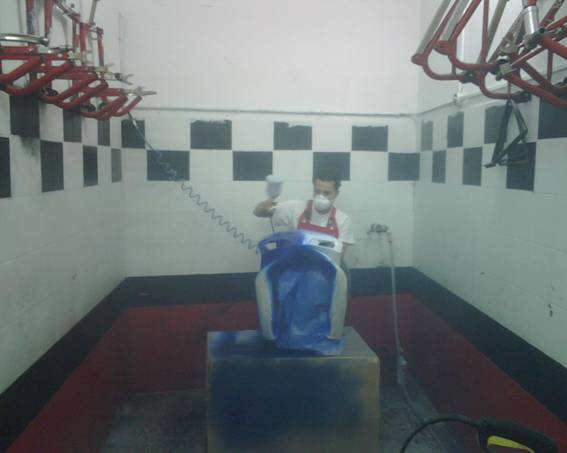
All the surfaces that are going to remain white shall be covered carefully, so the blue paint doesn´t enter into them.
In the next picture we see Orlando in action again!
IMG00153.jpg

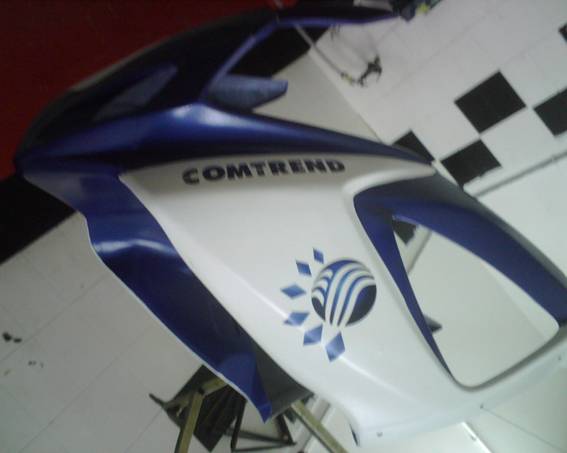
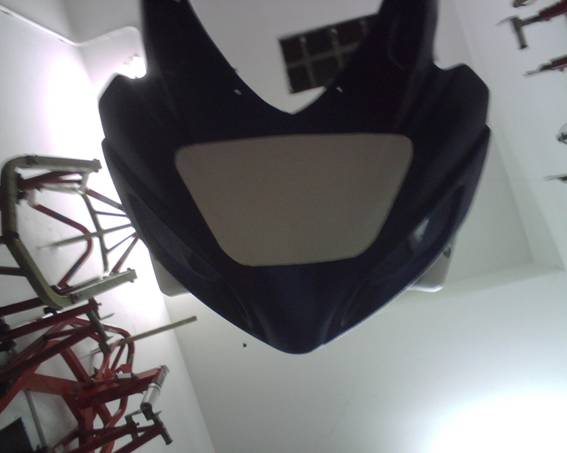
Half an hour later (too late might be more difficult), we remove the paper and add some more stickers

IMG00154.jpg

IMG00155.jpg

IMG00156.jpg

IMG00157.jpg
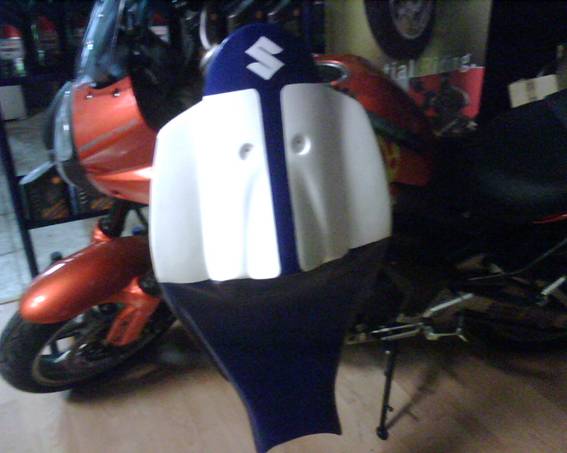
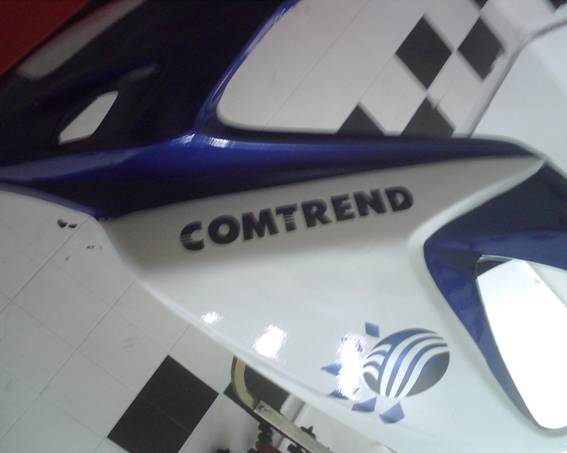
And finally a thin layer of varnish is added.
That varnish is mixed with catalyzer (to harden the paint) and thinner, in a 5:2:1 proportion, and the result can be seen in the picture below… all shinny !!
IMG00158.jpg